How to Make a Yarn Pompom

(Last edited Fri, 04 Nov 2022)
How to make the perfect pompom for your beanie
A quick way to make a pompom beanie in under 20 steps. I want to credit The Nervous Knitter on YouTube for the directions. Their video is linked below.
By Jaysha | YarncraftedThis post contains affiliate links, which means we may earn a small commission at no additional cost to you if you make a purchase through these links. Your support helps keep our crochet patterns and resources free, allowing us to continue sharing valuable tips and tutorials. Thank you for supporting Yarncrafted!
Turn your crochet idea into a pattern
Create a personalized crochet pattern with Yarncrafted's AI Pattern Builder. Get your materials list, yarn suggestions, stitch abbreviations, and step-by-step instructions.
Create your pattern for just $1.49

This post contains affiliate links. If you purchase through one of our links, Yarncrafted may earn a small commission at no additional cost to you. Your support helps us keep our crochet patterns, tutorials, and resources free.
Here are the materials you will need to make the pompom:
- Paper towel roll
- Scissors
- Cardboard
- 3 strands of yarn
Step 1: Grab three strands of yarn

Start with 3 strands of yarn. You will want to use fewer strands if you want your pompom to be less dense.
Step 2: Grab a paper towel roll

Cut a paper towel roll in half.
Step 3: Place three strands between a paper towel roll

Grab three strands of yarn and place them between the two rolls.
Step 4: Wrap yarn around paper towel roll

Wrap the yarn strands around both paper towel rolls a total of 100 times. Then cut the strands off.
Step 5: Cut a 10-inch strand of yarn

Cut a 10-inch strand of yarn and feed the strand of yarn between the two towel rolls.
Step 6: Tie the strand of yarn in a knot

Tie a knot using the 10-inch strand of yarn.
Step 7: Remove the two paper towel rolls

Remove the two paper towel rolls but make sure the knot is still in place.
Step 8: Re-tie the knot

Re-tie the knot so that it is as tight as possible.
Step 9: Cut all loops

Cut all of the loops but be sure not to cut the 10-inch strand of yarn.
Step 10: Cut two circles from cardboard
.png)
Cut two circles from the cardboard. Make a slit from the center down in one of the circles.
Step 11: Place yarn in the slot

Feed the 10-inch strand of yarn into the cardboard slot.
Step 12: Squish the pompom between the two cardboard circles

Place the pompom between the two cardboard circles.
Step 13: Shape the pompom

Shape the pompom by cutting around the circles. You can choose to make the pompom as big or small as you'd like.
Step 14: Shake out the pompom

Shake out the pompom while keeping the bottom cardboard on.
Step 15: Move the bottom cardboard up

Move the bottom cardboard up from the bottom and place it flat on the side of the pompom.
Step 16: Shape the pompom again

Place the pompom between the two cardboard circles. Shape the pompom by cutting around the circles. You can choose to make the pompom as big or small as you'd like.
Step 17: Shake out the pompom again

Shake out the pompom again.
Step 18: Repeat Steps 11-17
Repeat Steps 11-17 as many times as needed.
Step 19: Attach the pompom

Use the 10 inch tail to attach the pompom to the beanie!
Here is the link to The Nervous Knitter Youtube video.
Have a crochet idea?Turn it into a pattern.
Tell Yarncrafted what you want to make and create a personalized crochet pattern with materials, yarn suggestions, stitch abbreviations, and step-by-step instructions.
Crochet essentials
Tools we recommend
A few of our favorite crochet tools and accessories to help keep your projects organized, comfortable, and fun.
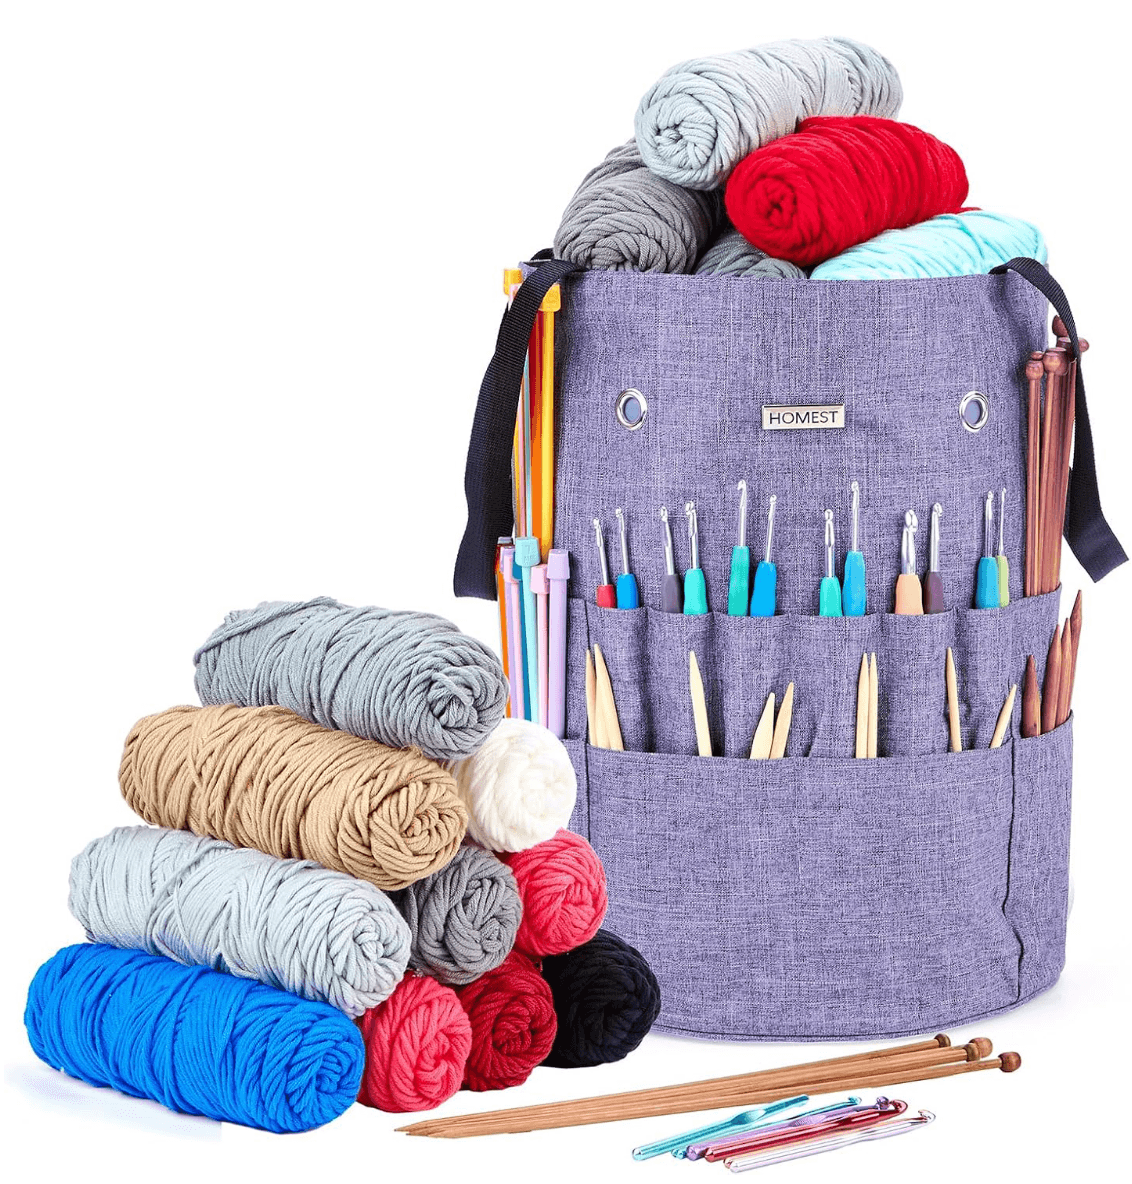
Large Crochet Bag
Check it out on Amazon →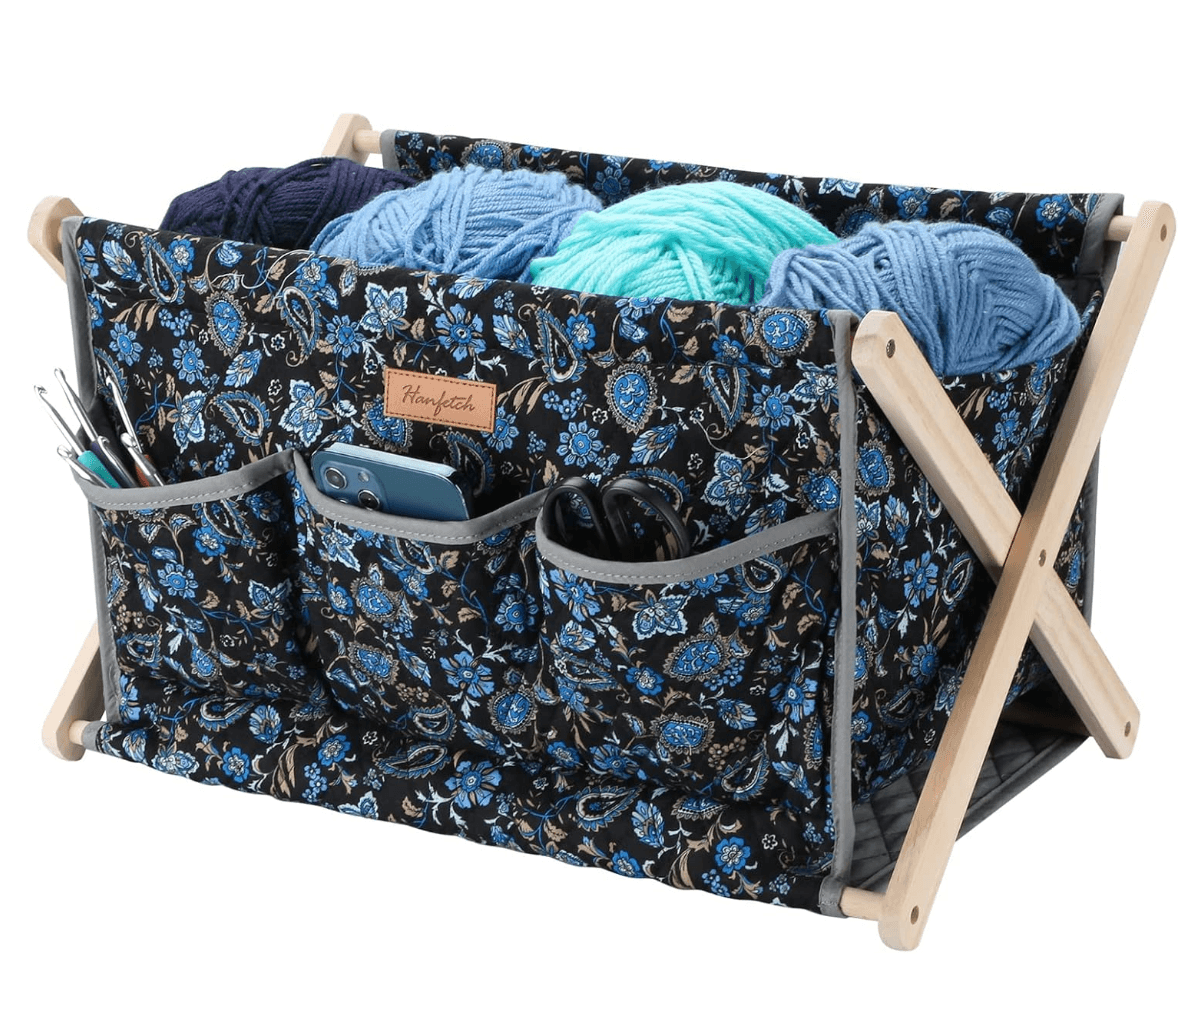
Crochet Caddy
Check it out on Amazon →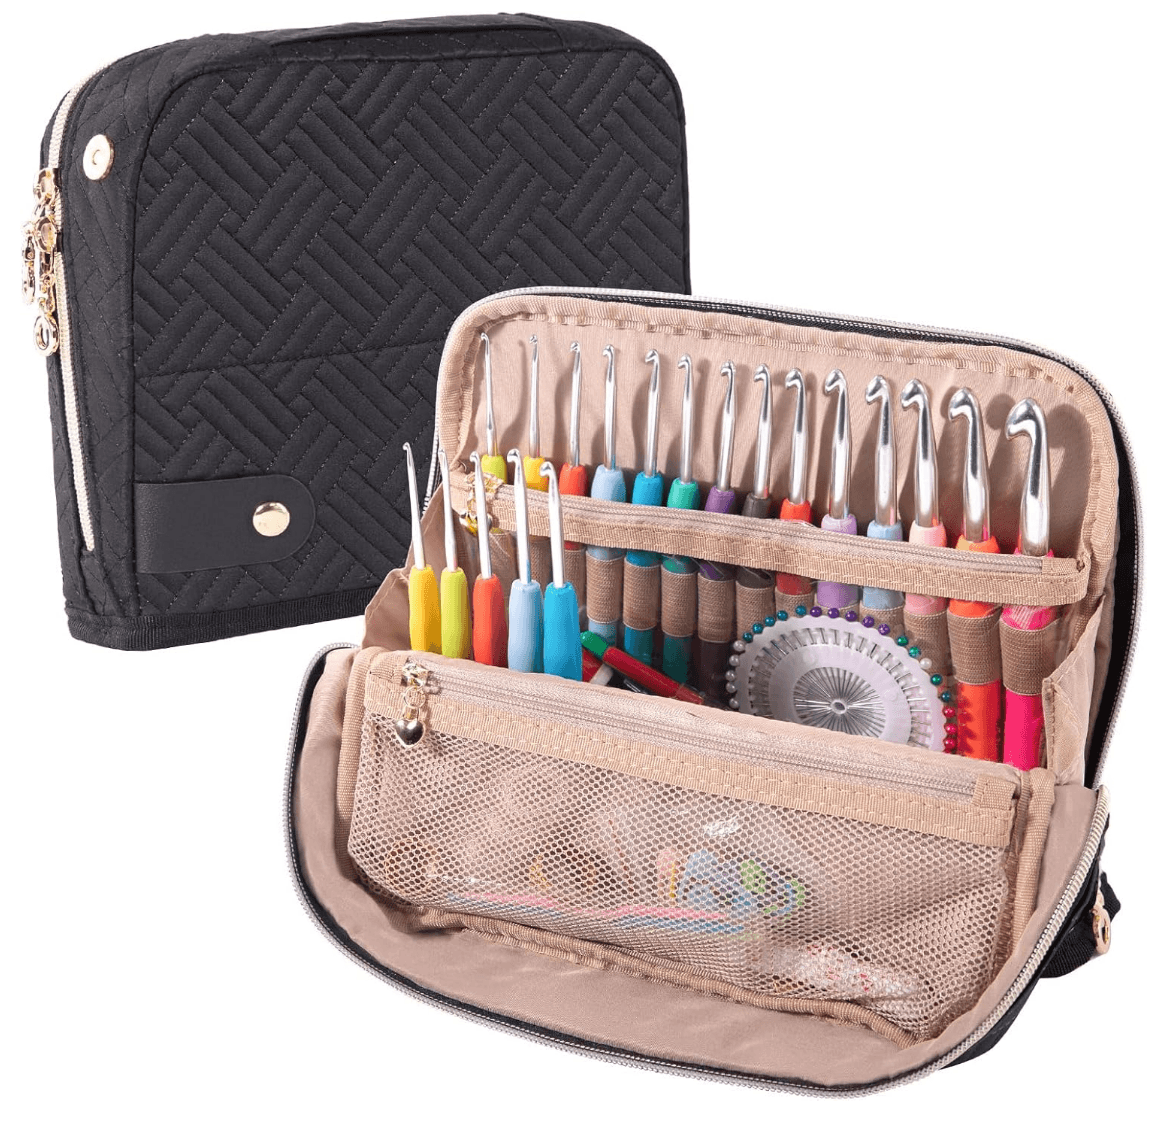
Crochet Hook Case
Check it out on Amazon →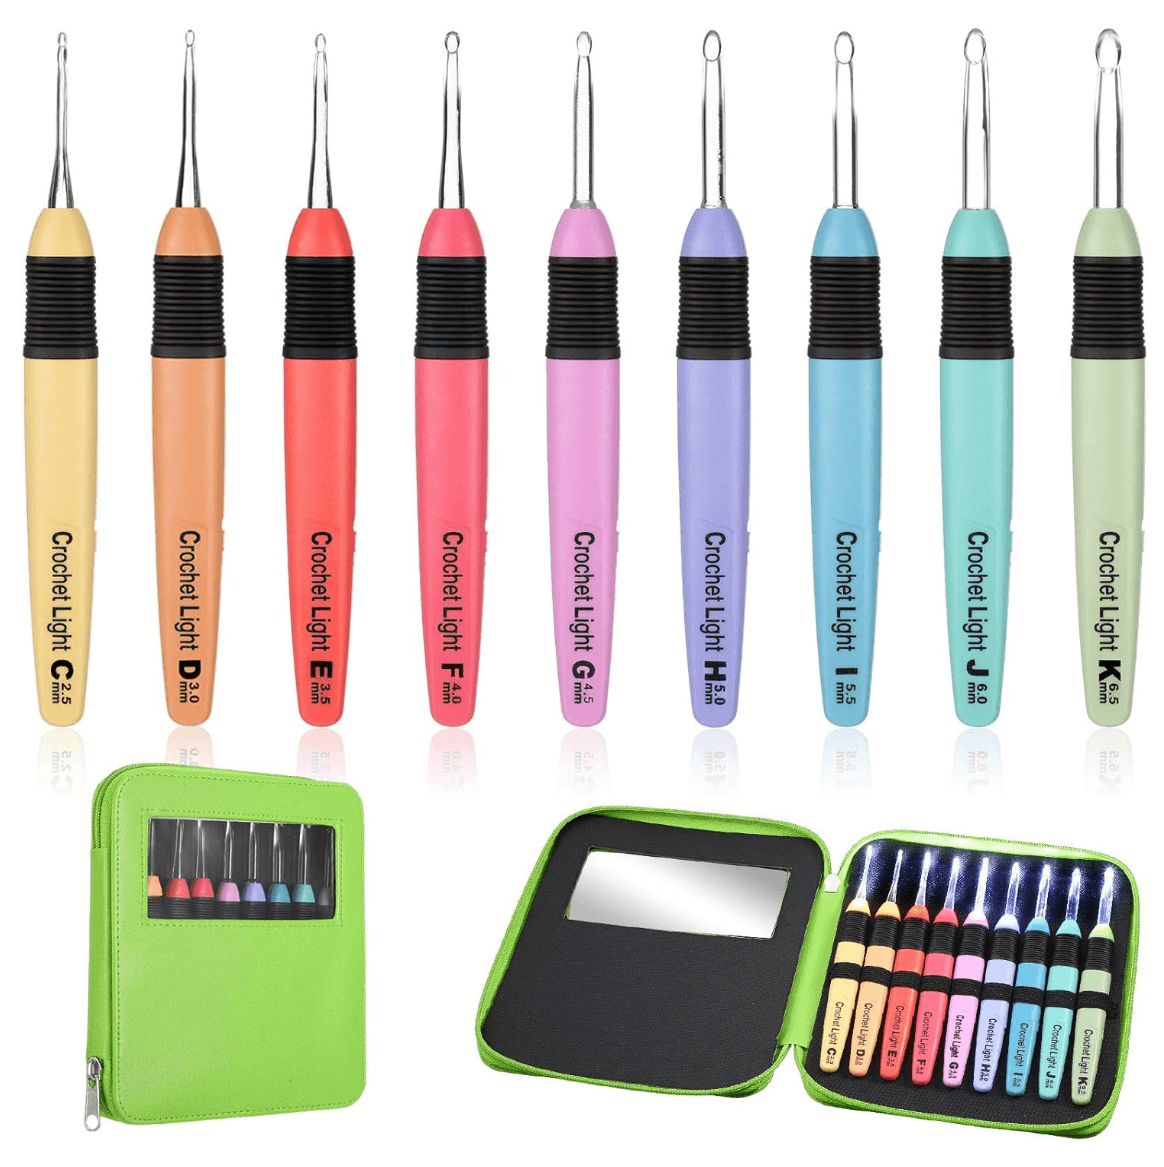
Lighted Crochet Hooks
Check it out on Amazon →
Tablet Stand
Check it out on Amazon →
Glocusent Book Light
Check it out on Amazon →The sections on this page contain affiliate links. If you purchase through one of these links, Yarncrafted may earn a small commission at no additional cost to you.
Recommended crochet supplies
Tools & yarn you may love
A few crochet finds from Amazon to help you start your next project.
Caron Little Crafties Yarn
A handy variety of colors for small crochet projects and details.
Check it out on Amazon →
Red Heart Super Saver Yarn
A versatile yarn option for everyday crochet projects.
Check it out on Amazon →
Lion Brand Glow Yarn
A fun option when you want your next crochet project to stand out.
Check it out on Amazon →Shop Crochet Favorites & Supplies

Comments
More Crochet Finds You'll Love
Looking for more yarn, tools, books, and crochet supplies? Here are a few more favorites worth checking out on Amazon.





Amazon Best Sellers
Top selling crochet kits


More Supplies
Crochet kits, yarn, and more!




Trending Now
Home goods, skin care, electronics, and more!

Therapy Skincare Face Mask with Vibrating Massage - Blue & Red Light
TheraFace Mask by Therabody - LED Light
Buy on amazon.com

Room Decor for Girls, Boys, & Adults, Desk or Shelf Display
LEGO Botanicals Happy Plants Building Toys
Buy on amazon.com
Natural Wake Up Light - Dimmable Clock with Bluetooth Speaker
Sunrise Alarm Clock White Noise Machine
Buy on amazon.com

